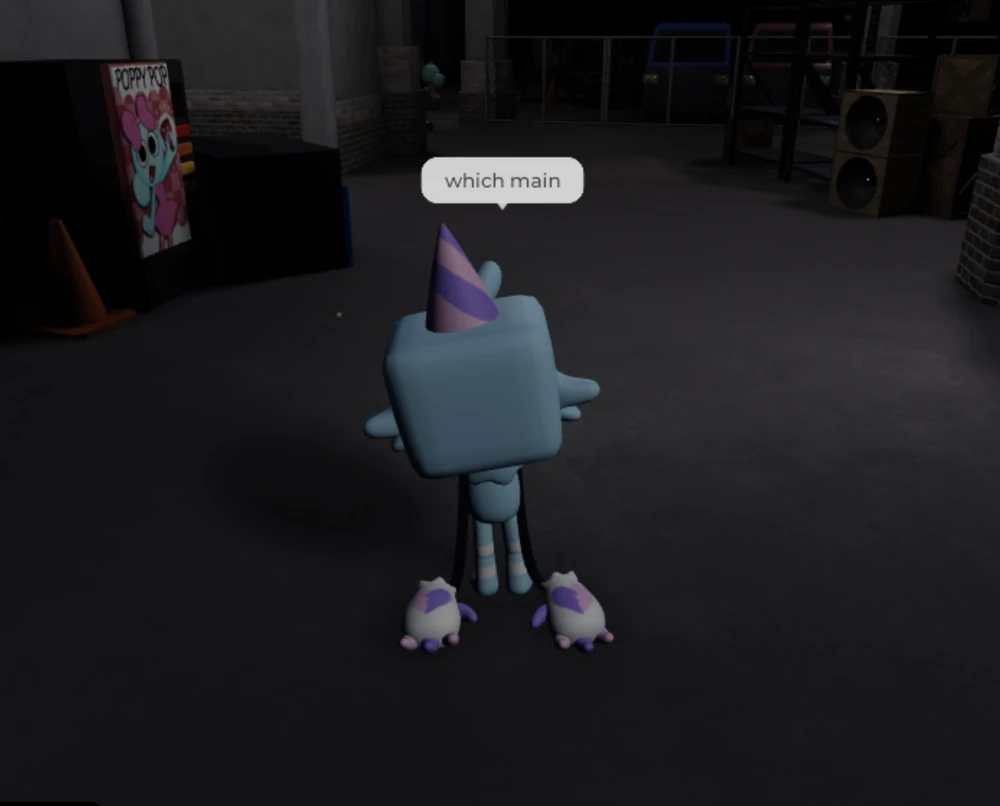
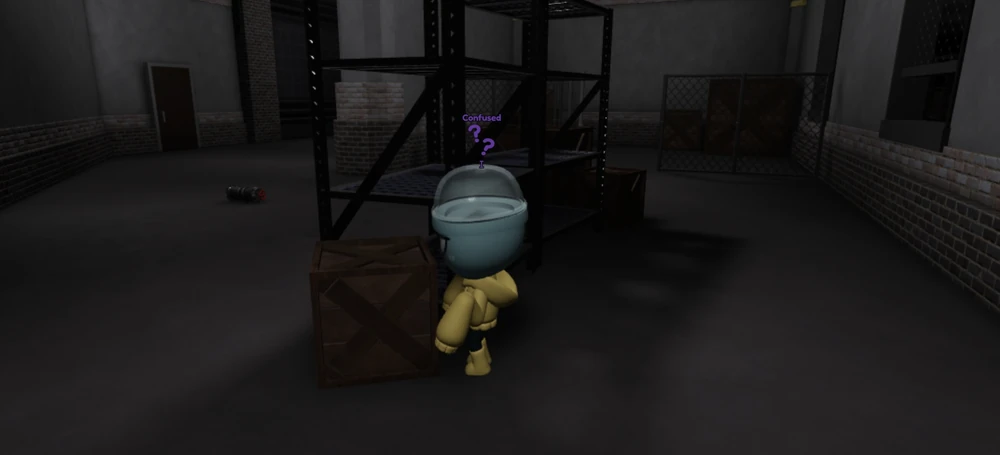
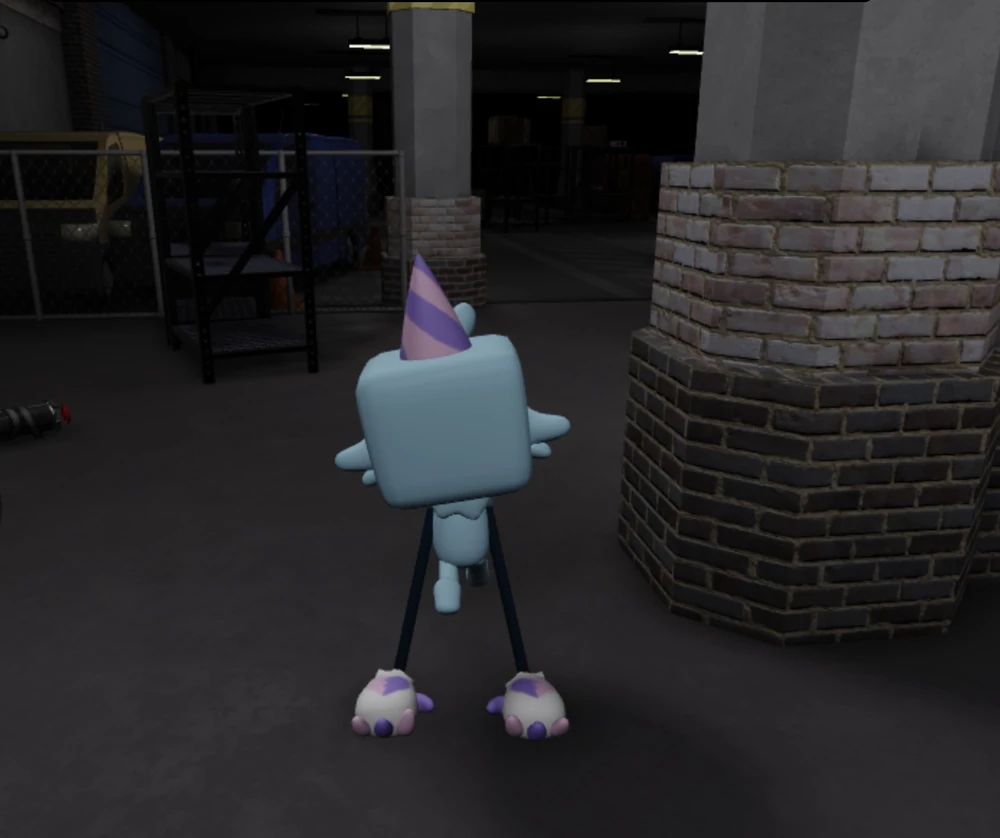
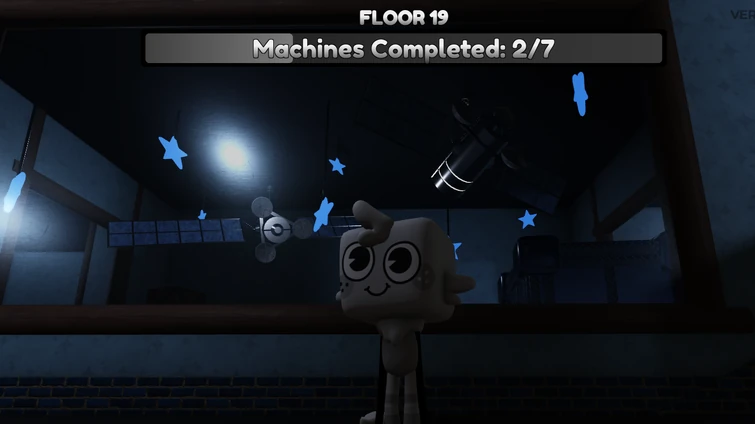
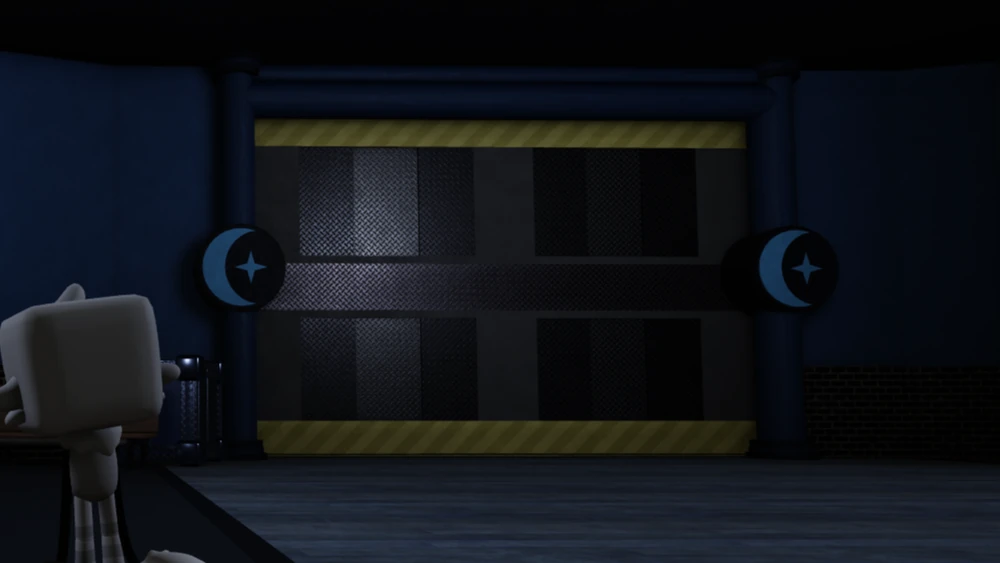
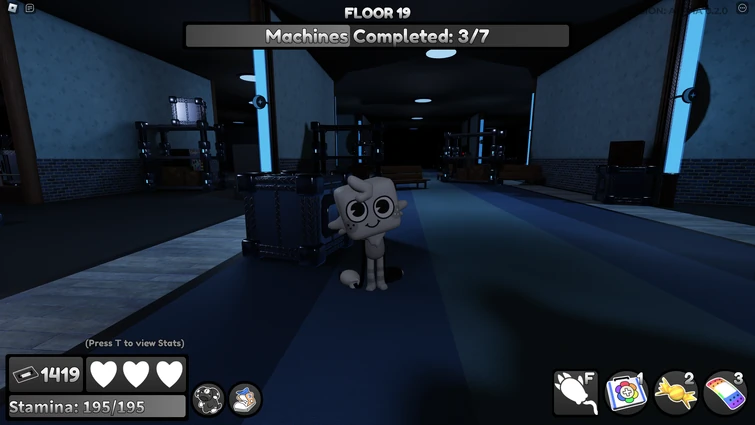
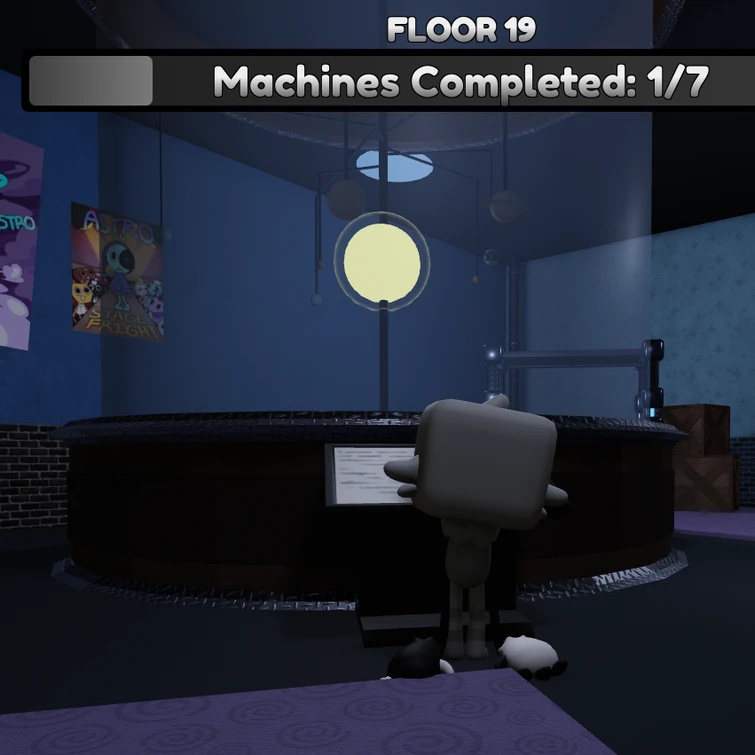
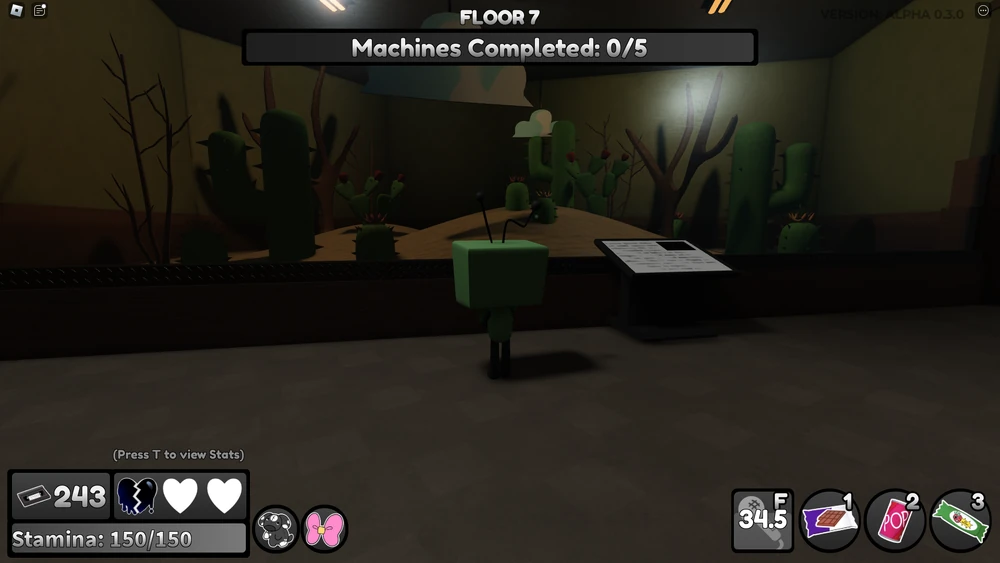
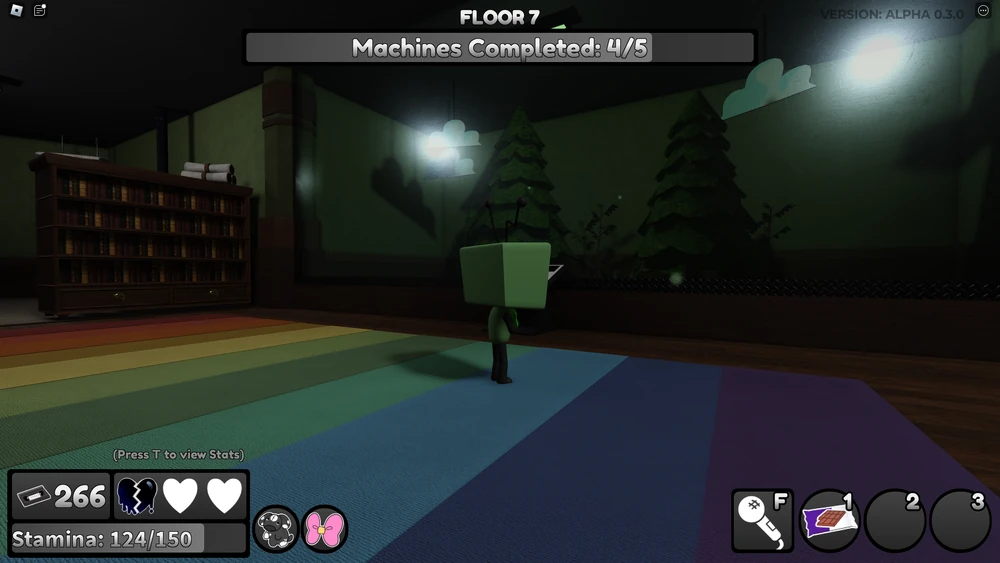
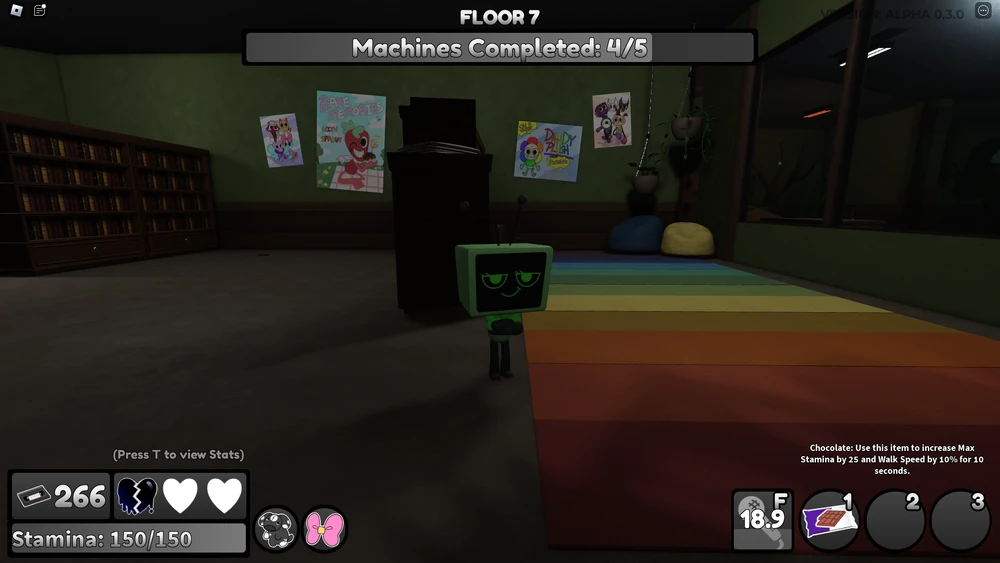
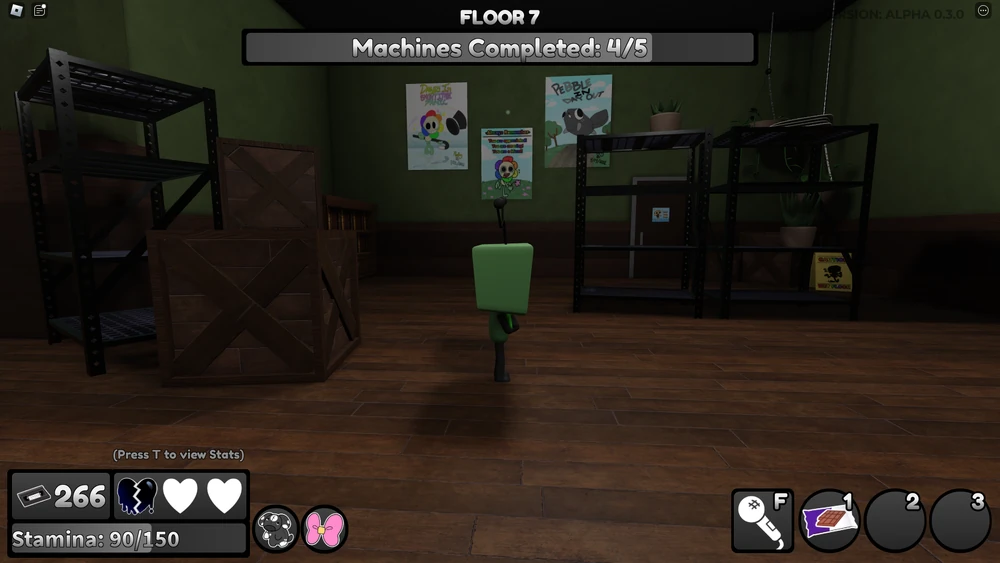
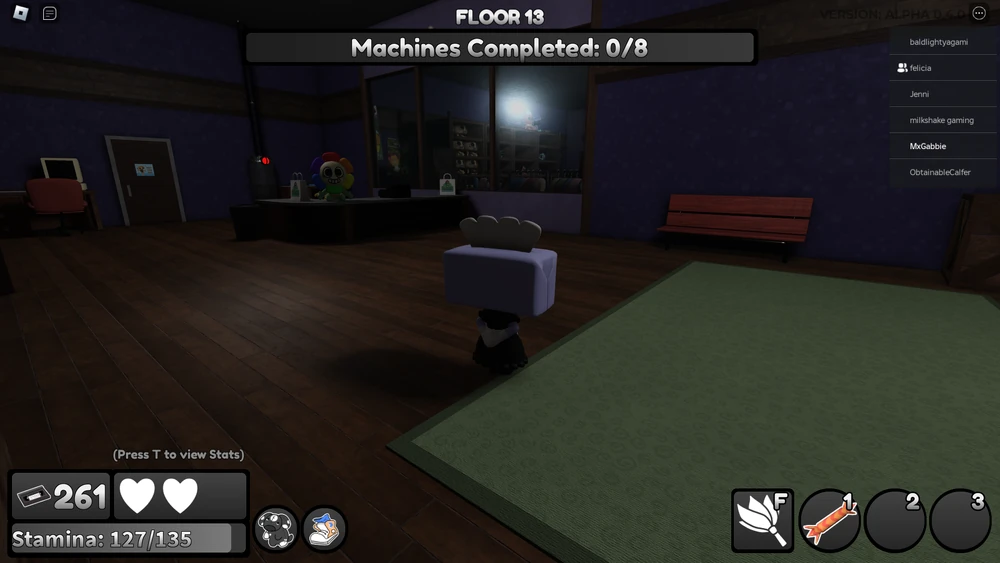
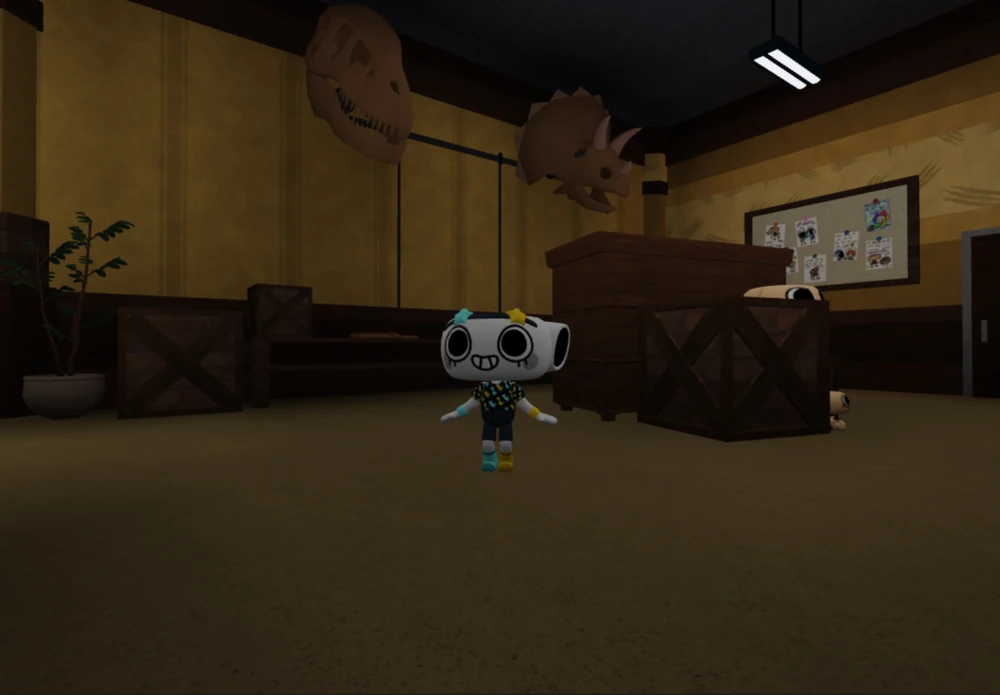
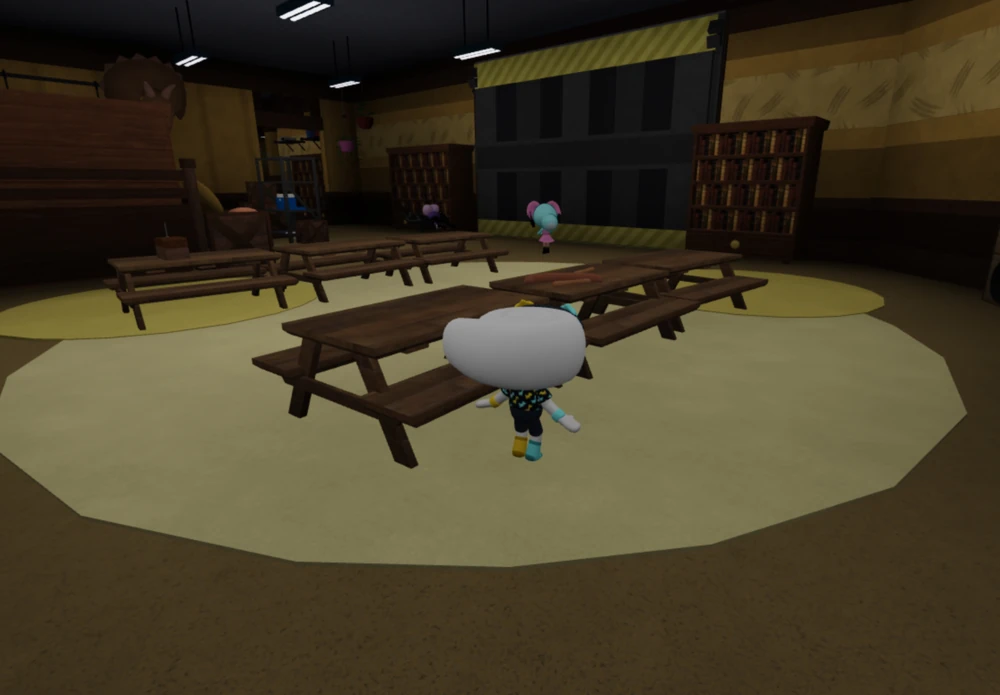
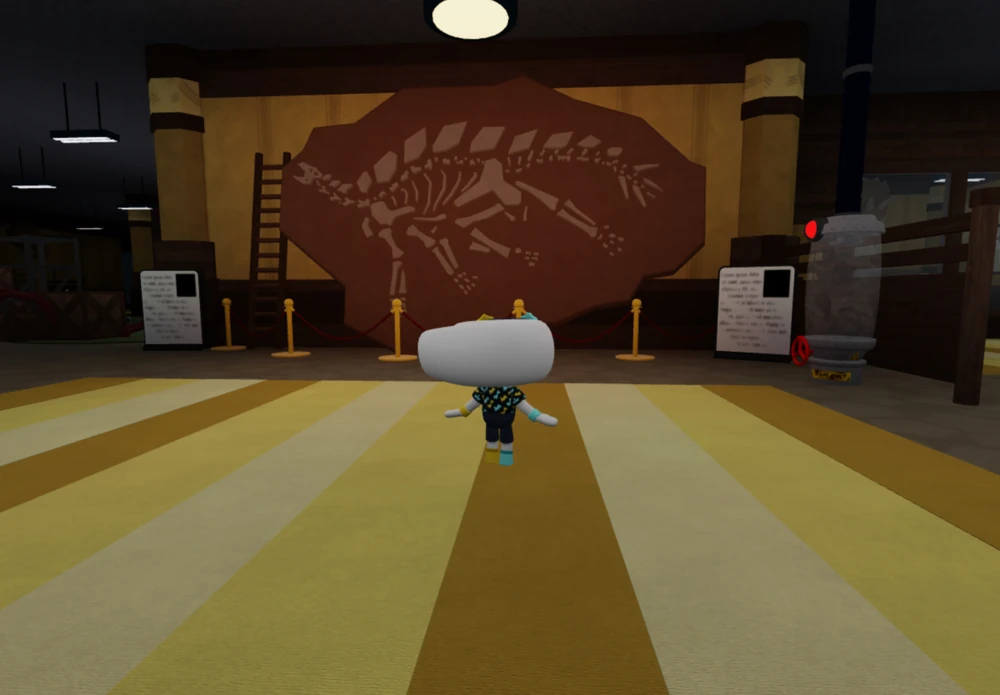
In Dandy's World, players face a variety of randomly generated floors. Each floor layout is unique, with the elevator starting area, item and Twisted spawn points, and machine locations all being semi-randomized.
Earn 5 Ichor for each floor you successfully survive!
🗺️ Floor Types Overview
There are several different floor layouts, most with their own individual variants. The game has a total of 18 maps (including variants), with 7 unique map types excluding variants.
7
Map Types
18+
Total Variants
5
Ichor per Floor
7
Max Variants
🏢 All Floor Types
🌈
Rainbow Room
7 VariantsFloor 1+Small
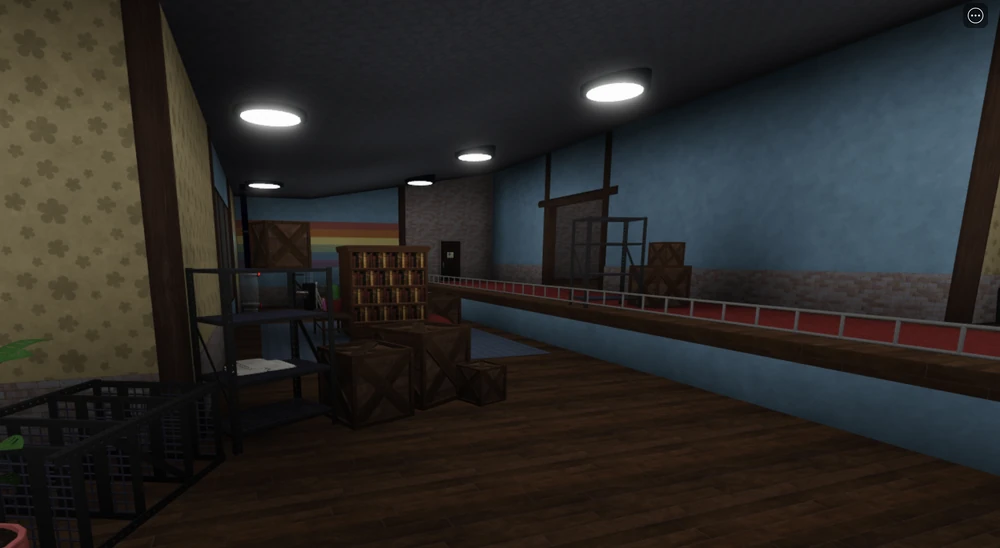
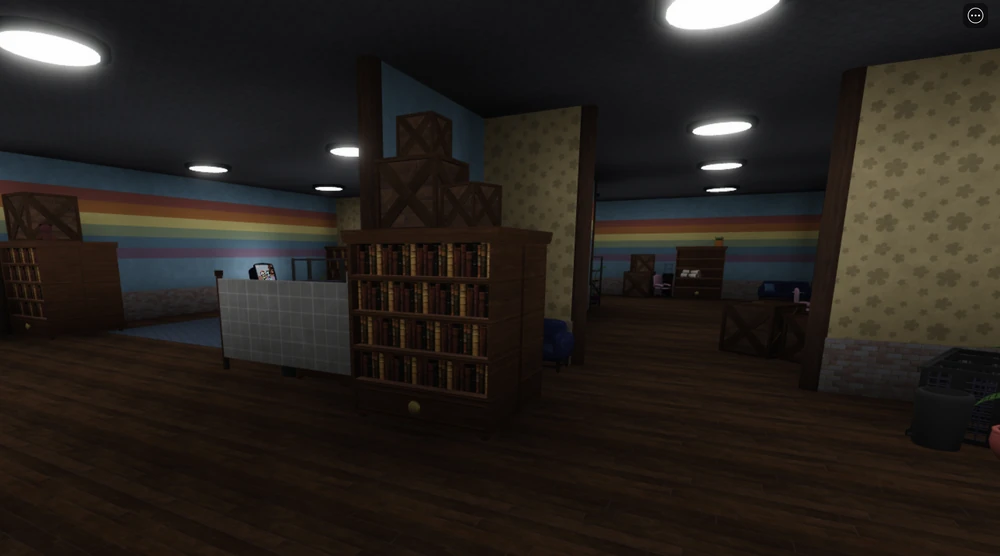
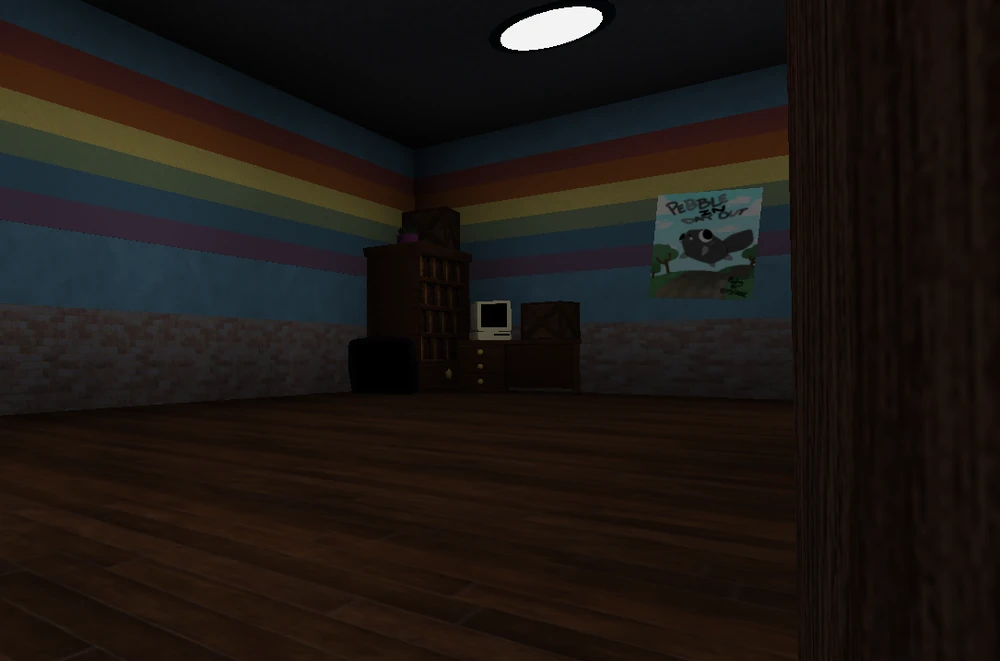
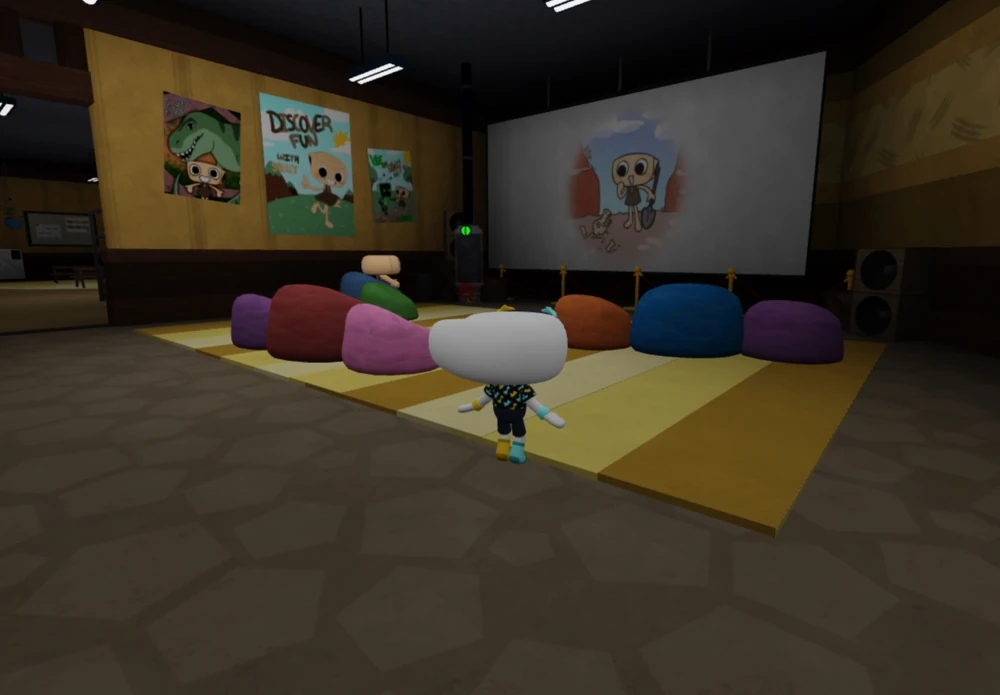
The Rainbow Room is a map that typically appears at the start of a game alongside the Library and Projector Room. It features a blue wall with rainbow stripes across the map and a brown wooden floor.
📋 Features
7 variants - the most of any floor in the game
The smallest floor in the game
Appears from Floor 1 onwards
Some variants have larger layouts
📸 Map Variants
🍽️
The Diner
3 VariantsFloor 6+Medium
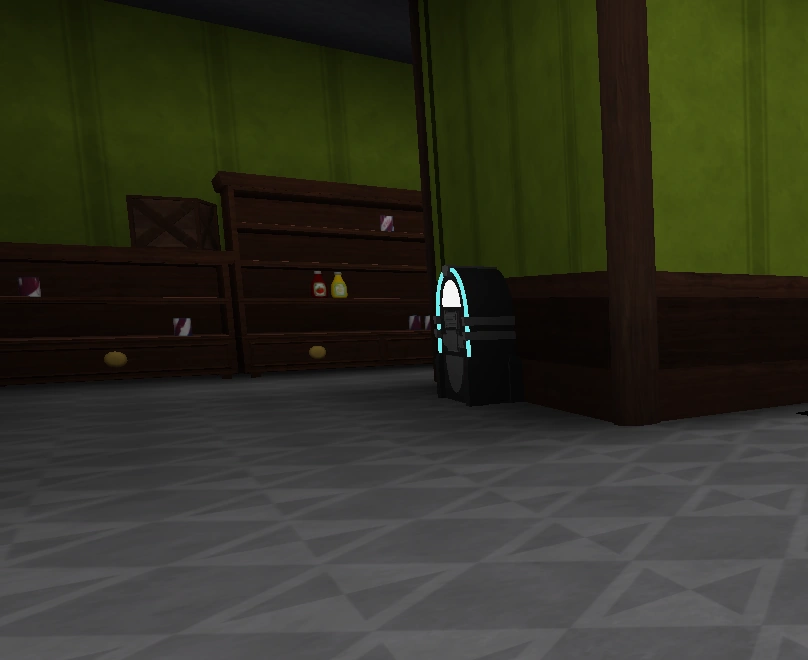
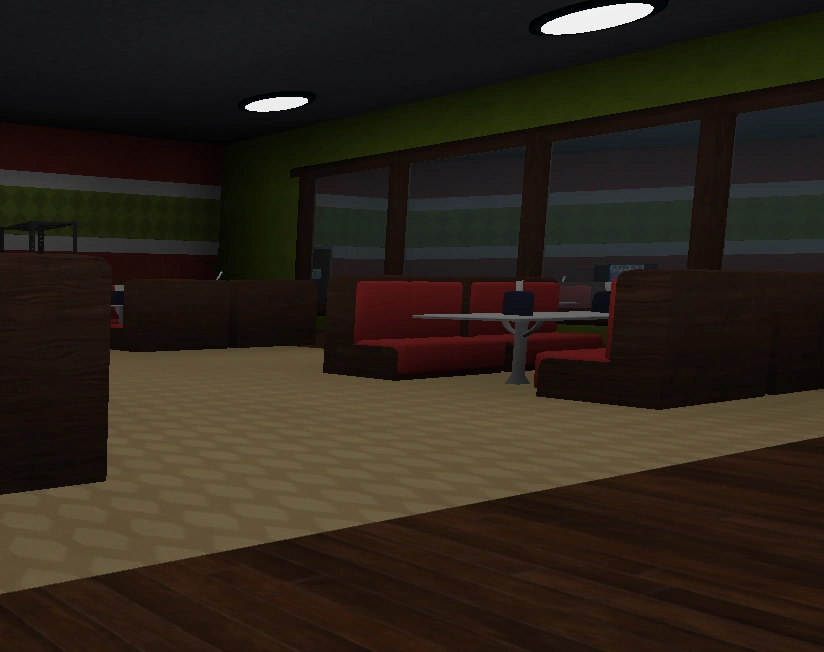
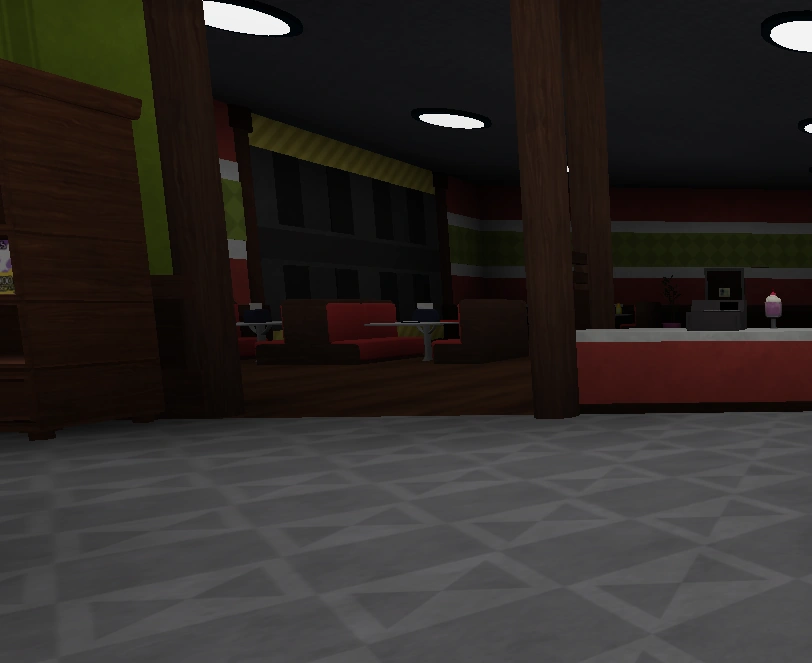
The Diner is a restaurant-themed map with green walls and a brown wooden floor. It includes a kitchen with grey tiles, food spills, and Ichor puddles.
📋 Features
3 variants available
Only appears on floors 6 or higher
Medium-sized floor, comparable to Projector Room
Kitchen and dining areas at opposite ends
📸 Map Variants
🏭
The Warehouse
3 VariantsFloor 10+Large
The Warehouse is a map with grey concrete walls and floors, minimal variation, and metal fences dividing sections. It has smaller rooms with desks, computers, boxes, and soda dispensers.
📋 Features
3 variants available
Rare floor - typically only on floors 10+
Second largest map after Astro's Room
Metal fences can restrict movement
📸 Map Variants
🚀
Astro's Room
2 VariantsFloor 15+Very Large
Astro's Room is a space-themed map and the largest floor in the game. It has the highest chance of spawning bandages, which helps compensate for its considerable size.
📋 Features
2 variants available
Usually appears around floor 16+
The largest floor in the game
Highest bandage spawn rate
📸 Map Variants
🌿
Greenhouse
2 VariantsFloor 8+Medium
The Greenhouse is a nature-themed map filled with plants and natural elements. While on this floor, you can hear birds chirping and sometimes squirrel noises.
📋 Features
2 variants available
Appears from floor 8 onwards
Ambient nature sounds (birds, squirrels)
Lush plant-filled environment
📸 Map Variants
🎁
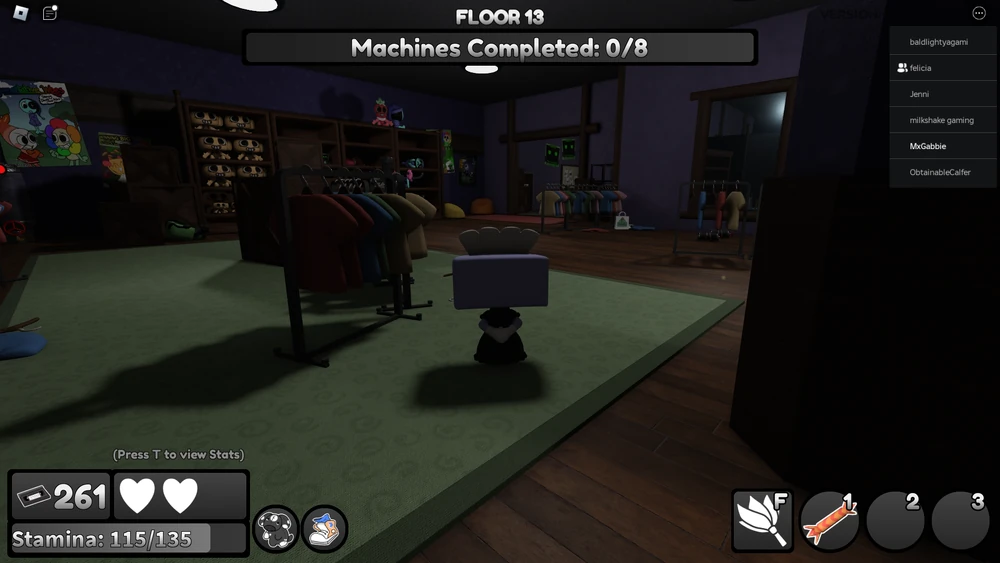
The Gift Shop
2 VariantsFloor 5+Medium
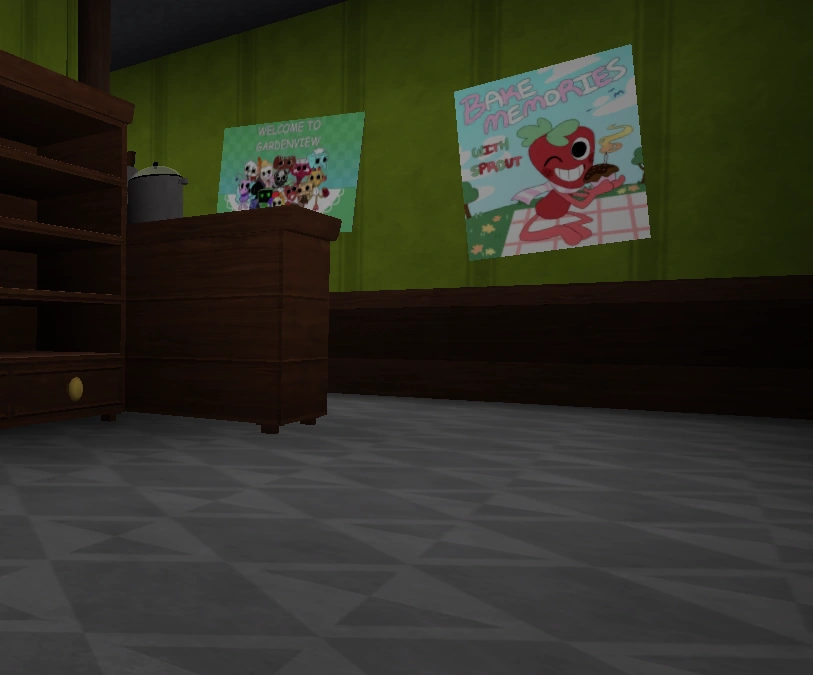
The Gift Shop features shelves of plushies of the Main Characters. Interestingly, all plushies are nearly sold out except for Shelly, hinting at her being the least popular character.
📋 Features
2 variants available
Appears from floor 5 onwards
Contains character plushie merchandise
Easter egg about Shelly's popularity
📸 Map Variants
🐚
Shelly's Room
2 VariantsFloor 12+Medium
Shelly's Room is a unique themed map dedicated to the character Shelly. It features ocean and shell-themed decorations throughout.
📋 Features
2 variants available
Appears from floor 12 onwards
Ocean/shell themed decorations
Unique character-themed layout
📸 Map Variants
⚡ Floor Events
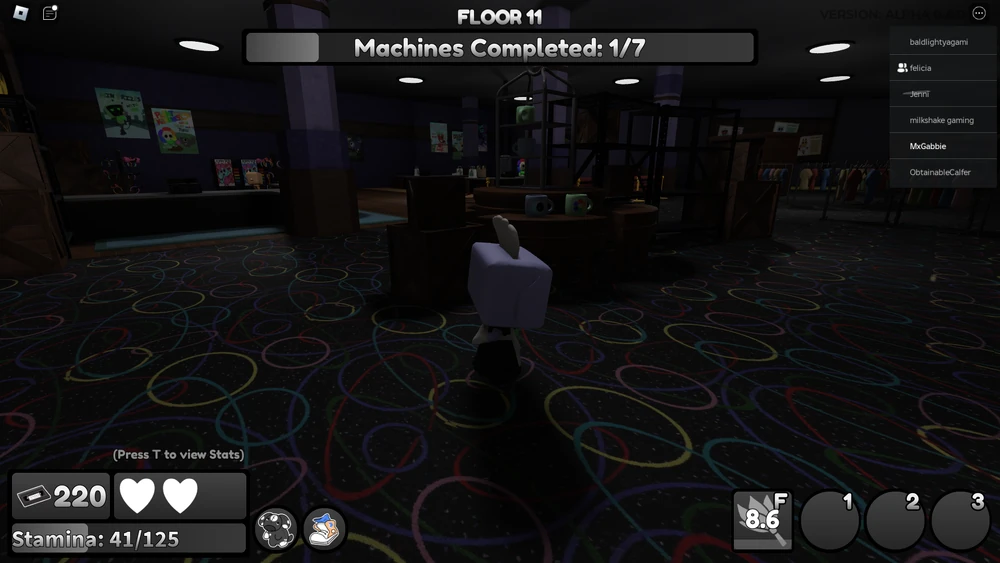
🌑 Blackout Event

An event called a "Blackout" occurs every so often, with the chance increasing the more floors you descend.
Starts at 5% chance on floor 3 (4% with Electrician card)
Increases by 2% each floor (1.5% with Electrician card)
Maximum chance of 30% (25% with Electrician card)
Makes the entire floor dark with only a small light around your Toon
Light radius increases with Brightney, Vee, Astro, Connie, Spare Bulb Trinket, or Sparkplug Card
🎯 Trivia
►
Astro's Room has the highest chance of spawning bandages, which makes up for its considerable size.
►
Despite the Diner being possible to see on floor 5, the probability is very low. It usually spawns around floor 7 and above.
►
Just like the Diner, Astro's Room can be seen on floor 15 but is usually seen at around 16.
►
When a Blackout occurs inside one of the versions of The Rainbow Room, the projection of the Razzle & Dazzle cartoon will not appear.
►
The Gift Shop has shelves of plushies of the Main Characters, which are all nearly sold out except for Shelly.
►
While on the Greenhouse floor, you can hear birds chirping, and in some cases, squirrel noises.
►
The Rainbow Rooms are the only floor type to have two maps with different names: the Projector Room and the Library Room.
💡 Tips & Tricks
✓
Familiarize yourself with map variants to strategize your gameplay.
✓
Take advantage of the Rainbow Room's small layout to quickly navigate.
✓
Keep an eye out for rare maps like Astro's Room after floor 15.
✓
Pay attention to the map's environment; different rooms offer unique challenges.
✓
In the Warehouse, avoid getting stuck behind the metal fences.
✓
Each floor you survive earns you 5 Ichor - plan your routes carefully!
🌟 Best Floors for Beginners
New players should focus on understanding floor layouts and mechanics before attempting deeper runs. Certain floor types provide more forgiving environments for learning the game's core systems.
🌈 Rainbow Room (Best for Learning)
The Rainbow Room is the ideal starting floor for beginners. Its compact layout means shorter travel distances between machines, making it easier to complete objectives quickly while learning Twisted patterns. The small size also reduces the chance of getting lost or separated from your team. With 7 variants, you'll quickly memorize common layouts, building spatial awareness that transfers to larger floors.
Beginner Tips: Use Rainbow Rooms to practice machine completion timing, learn how to spot Twisteds from a distance, and coordinate with teammates in a controlled space. The consistent spawns on floors 1-5 make this your training ground for mastering optimal builds and strategies.
🎁 Gift Shop (Intermediate Practice)
Once comfortable with Rainbow Rooms, the Gift Shop provides the next step in difficulty. Its medium size introduces longer sight lines and more complex navigation while remaining manageable. The predictable layout with merchandise displays creates natural cover spots for avoiding Twisteds, teaching intermediate positioning skills.
Gift Shop floors appear from floor 5 onwards, giving beginners time to master basics before encountering them. The open center area with shelving around the perimeter creates a hub-and-spoke layout that's intuitive to navigate. Use this floor type to practice efficient pathing and trinket management in moderate-sized spaces.
⚠️ Floors to Avoid Early
Beginners should be cautious of Astro's Room and The Warehouse on their first several runs. These floors have complex layouts with multiple rooms and corridors that can be disorienting. Astro's Room's massive size requires strong map awareness and stamina management, while The Warehouse's metal fences create navigation obstacles that trap inexperienced players. Focus on mastering smaller floors first before tackling these advanced layouts.
⚠️ Dangerous Floors Explained
Certain floor types present significantly higher risks due to their size, layout complexity, or environmental hazards. Understanding these dangers helps you prepare appropriate strategies and loadouts before entering.
🚀 Astro's Room - Maximum Danger
Astro's Room is objectively the most dangerous floor in the game due to its enormous size. The massive layout creates three critical risks: extended travel times between machines (increasing Twisted encounter probability), difficulty tracking teammate positions for coordination, and higher stamina consumption from constant sprinting. The floor's scale makes it nearly impossible to maintain visual awareness of all Twisted positions simultaneously.
Survival Strategy: Prioritize movement speed trinkets like Speedy Shoes and stamina regeneration items. Stick to the perimeter when possible, as the center can become a Twisted congregation point. The high bandage spawn rate compensates somewhat, but don't rely on finding healing—prevention through smart positioning is essential.
🏭 The Warehouse - Navigation Hazards
The Warehouse's metal fences create unpredictable movement restrictions. Unlike open floors where you can path directly to objectives, The Warehouse forces circuitous routes that waste time and increase Twisted exposure. The grey aesthetic makes it harder to spot items and Twisteds at a distance compared to more colorful floor types, reducing your reaction time.
The segmented rooms with narrow connecting passages create chokepoints where Twisteds can trap you. If a fast Twisted enters a corridor you're in, your only escape is backtracking—often straight into more danger. Success requires memorizing fence layouts to plan escape routes before danger appears.
🌑 Blackout Modifier - Universal Threat
Any floor becomes significantly more dangerous during Blackout events. The reduced vision radius makes it nearly impossible to spot distant Twisteds, eliminating your primary defensive tool: early detection. Floors you normally navigate confidently become disorienting mazes where Twisteds can approach undetected. Large floors like Astro's Room become nearly unplayable during Blackouts unless your team has Brightney or vision-enhancing trinkets. Check our beginner characters guide for Toons that can help during Blackouts.
🎯 Extraction Strategy by Floor
Machine completion efficiency varies dramatically by floor type. Adapting your extraction strategy to each layout maximizes Ichor farming and progression speed while minimizing risk exposure.
Small Floors (Rainbow Room)
Strategy: Aggressive Full Clears - Complete all machines rapidly using the compact layout to your advantage. With minimal travel time, you can efficiently check all machine locations, complete them quickly, and extract. The small space means Twisteds are always nearby, but you can also reach the elevator quickly when needed. Prioritize speed over caution.
Medium Floors (Diner, Gift Shop, Greenhouse)
Strategy: Hub-Based Extraction - Identify the central area and work outward in a circular pattern. Complete machines in clusters before moving to the next section, minimizing backtracking. The medium size allows for systematic clearing while maintaining spatial awareness of Twisted positions. Use landmarks (kitchen in Diner, shelves in Gift Shop) as reference points for navigation and team coordination.
Large Floors (Warehouse, Astro's Room)
Strategy: Selective Completion - Don't attempt to complete every machine on large floors unless necessary. Focus on machines along safe paths near the perimeter, avoiding dangerous central areas where Twisteds congregate. Communication is critical—call out machine locations and Twisted positions to prevent teammates from wandering into danger. Consider extracting early if Twisted density becomes overwhelming, as surviving is more valuable than completing extra machines.
📊 Floor Difficulty Ranking
Based on size, layout complexity, navigation hazards, and survival rates, here's the definitive floor difficulty ranking from easiest to hardest.
#1
Rainbow Room
★☆☆☆☆
Smallest floor, simplest layout, fastest clears
#2
Gift Shop
★★☆☆☆
Medium size, good visibility, intuitive design
#3
The Diner
★★☆☆☆
Medium size, clear room divisions, manageable
#4
Greenhouse
★★★☆☆
Medium size, some visual clutter from plants
#5
Shelly's Room
★★★☆☆
Medium-large, thematic elements can obscure vision
#6
The Warehouse
★★★★☆
Large size, fence navigation hazards, poor visibility
Solo players face unique challenges on floors designed for team coordination. These strategies help you survive and thrive without teammate support.
🗺️ Prefer Small to Medium Floors
Solo players should actively avoid Astro's Room and The Warehouse when possible. Without teammates to distract Twisteds or call out positions, large floors become exponentially more dangerous. Rainbow Room, Gift Shop, and Diner provide the best solo success rates due to manageable sizes and simpler layouts. If you land on a large floor, prioritize survival over completion—extract early if Twisted density becomes overwhelming.
⚡ Stealth Over Speed
Solo players benefit more from stealth-based trinkets than speed builds. Without teammates to draw Twisted aggro, avoiding detection entirely is your primary survival tool. Night Cap, Fancy Purse, and other stealth trinkets let you complete machines near Twisteds without alerting them. Speed is less useful solo because there's nowhere to kite Twisteds—you're always their primary target.
🎯 Map Edges Strategy
Work along floor perimeters rather than cutting through central areas. Edges provide natural escape routes (walls guide you) and reduce the number of directions Twisteds can approach from. Complete machines clockwise or counterclockwise around the floor's edge, maintaining spatial awareness of your position relative to the elevator. If a Twisted spots you, you can follow the wall back to extraction rather than navigating through an unknown center.
💝 Maximize Healing Items
Solo players cannot rely on teammates for healing or revives, making bandage and medkit collection critical. Thoroughly search each floor before extracting—that extra bandage could mean the difference between surviving floor 15 or dying. Dog Plush trinket becomes extremely valuable solo, giving you an extra heart that effectively increases your margin for error by 33%. Health management is your solo victory condition.
❓ Frequently Asked Questions
How many floor types are in Dandy's World?
There are 7 unique floor types with a total of 18+ map variants including Rainbow Room, The Diner, The Warehouse, Astro's Room, Greenhouse, The Gift Shop, and Shelly's Room.
What is the largest floor in the game?
Astro's Room is the largest floor in the game. It compensates for its size by having the highest bandage spawn rate.
When do rare floors start appearing?
The Warehouse typically appears on floor 10+, Astro's Room around floor 15-16+, and Shelly's Room from floor 12+.
How much Ichor do you earn per floor?
You earn 5 Ichor for each floor you successfully survive. Surviving multiple floors helps you gather valuable resources.
What's the best floor for beginners?
Rainbow Room is the best floor for beginners due to its small size, simple layout, and consistent spawns on early floors (1-5). It's perfect for learning game mechanics.
How do I survive Blackout events?
During Blackouts, use characters like Brightney or trinkets that increase light radius. Stay near walls for orientation, move slowly to avoid Twisteds, and communicate constantly with teammates.
Can I choose which floor type I get?
No, floor types are randomly assigned based on your current floor number. Higher floors unlock additional floor types like The Warehouse (10+) and Astro's Room (15+).
Should I complete all machines on large floors?
Not necessarily. On large floors like Astro's Room, prioritize survival over completion. Extract early if Twisted density becomes dangerous, as surviving is more valuable than extra machines.